
Crop & Soil
How to Take a Soil Sample: A Step-by-Step Guide for Farmers
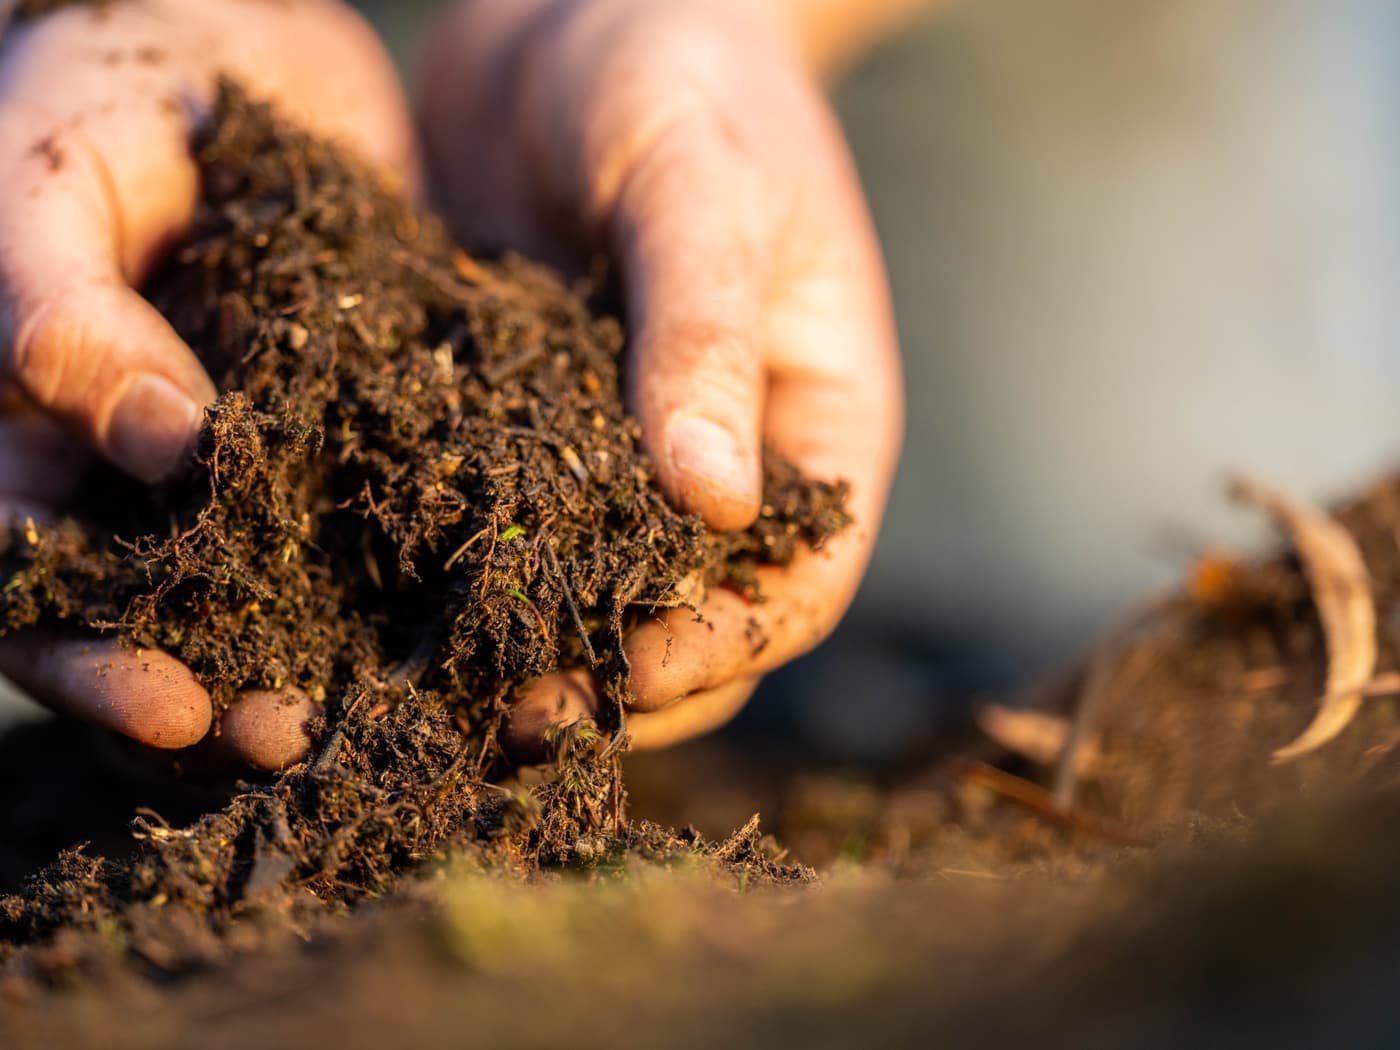
Soil testing tells you what your paddock actually needs before you spend money on fertiliser, lime or gypsum. But a lab can only analyse what you send it, and a poorly collected sample can point you in the wrong direction. In this guide, the Australian School of Agriculture & Horticulture walks through how to take a soil sample that genuinely represents your paddock.
Why does soil sampling technique matter?
A soil test result is based on a few hundred grams of soil standing in for an entire paddock. If that small amount comes from a stock camp, a fertiliser band or a wet corner, the result describes that spot rather than the paddock. Good technique is about making the sample as representative as possible, and taking it the same way every time so results can be compared from year to year.
What equipment do you need?
- A soil sampling probe or corer (a spade works, but a probe gives more consistent depth)
- A clean plastic bucket. Avoid galvanised buckets, which can contaminate the sample with zinc
- Sample bags and labels from your testing laboratory
- A paddock map, or GPS on your phone, to record where you sampled
How to take a soil sample, step by step
- Divide the property into sampling zones. Paddocks with different soil types, histories or production should be sampled separately.
- Plan a transect. Walk a zigzag or "W" pattern across the zone so cores come from the whole area rather than one strip.
- Avoid unrepresentative spots, including gateways, troughs, stock camps, fence lines, old tree lines, dam banks and recent fertiliser bands.
- Take plenty of cores. Collect around 20 to 30 cores per zone at a consistent depth. Most pasture and cropping tests use the top 0 to 10 cm, but check what your laboratory recommends.
- Mix thoroughly. Combine the cores in your clean bucket, break up clods and remove stones, roots and plant material.
- Fill and label the bag. Take the amount your lab asks for, label it clearly with the paddock name and date, and record where you sampled.
- Send it promptly. Keep samples cool and out of the sun, and get them to the lab as soon as possible.
When is the best time to sample?
Consistency matters more than the exact month. Sample at the same time of year each time you test, so seasonal changes don’t muddy comparisons. Many farmers sample well ahead of sowing or fertiliser decisions, which leaves time to get results back and plan. Avoid sampling soon after applying fertiliser or lime, because the result will reflect the fresh application rather than the soil’s underlying condition.
What should you do with the results?
A soil test report typically covers pH, key nutrients such as phosphorus, potassium and sulphur, organic carbon and other measures such as salinity or exchangeable cations. The numbers are most useful when they are interpreted against your soil type, your crop or pasture, and your production goals. Keep every report, because trends over several years tell you far more than any single test.
Understanding soil chemistry, structure and fertility is a core part of our Agriculture Certificate in Crop and Soil Management, where you work through real paddock decisions with tutor feedback.
Want to go further?
Study online at your own pace with tutor support 6 days a week. A course consultant can help you choose the right certificate and add-on modules.
Speak to a Course Consultant